Editing Lesson:
We started by creating a "Rush Bin" which we put all our un cut footage in. This means that we can always return to the original footage if we want to start again.
Following this we created the "Log Bin" in which we put the film we wanted to cut and then began to cut and edit this footage.

Above is a snapshot of Final Cut Pro. The screen on the left is where you can view your footage and cut it. By pressing I and then O you can choose the section of film you want to cut. Then by dragging this into the bottom section of the screen you can place it in the time sequence you want. The right screen then shows your cut footage and you can review and alter it, by simply rearranging where you cut the film on the left screen.
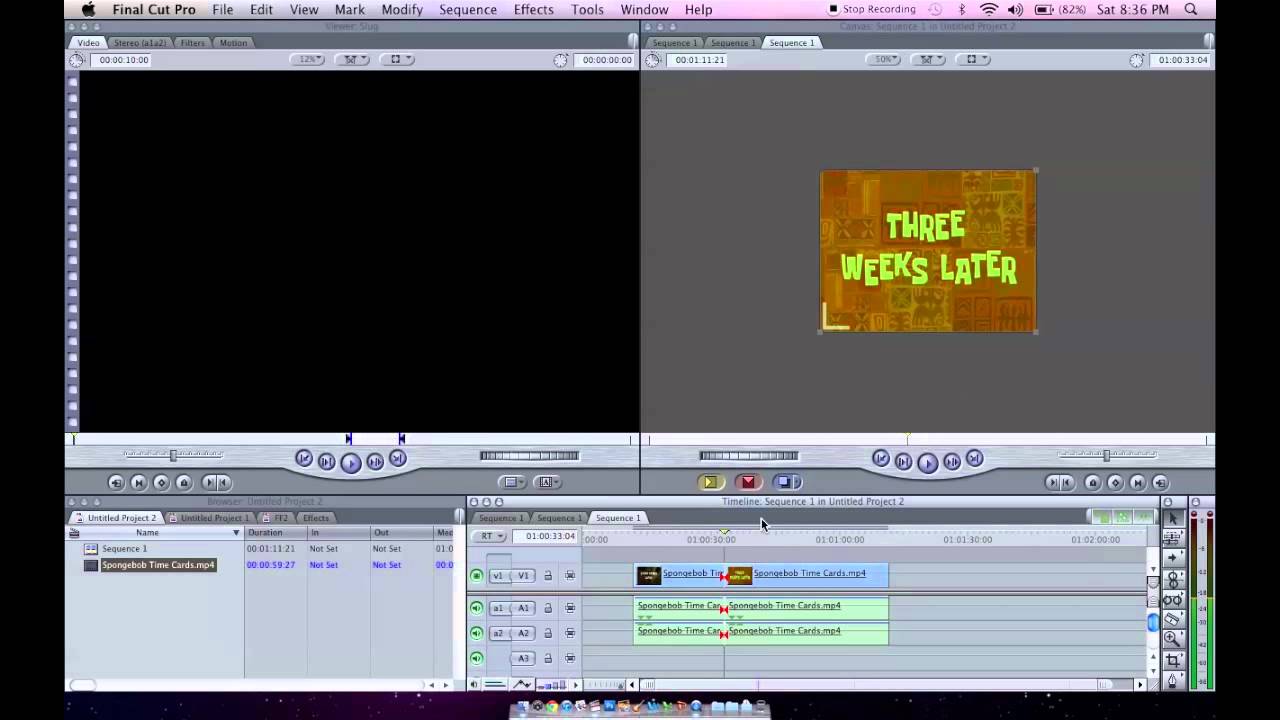
The picture above shows how to cut the film. The two arrows on the left screen indicate what part of the footage you are taking, and the bottom part of the screen shows where this cut footage has been placed.
Once we had learnt how to cut our footage we began to piece together our prelim task film. We started with our wide shot, to establish the scene. We then cut to a close up shot to introduce the character further and after this we cut smoothly into another close up of the other character. It took us a while to decide what order to place our shots and on what lines or gestures we should cut to other shots. We learnt that if we cut half way through a movement then it looked more natural and realistic than cutting before a movement as sometimes the movements were out of sync with each other.
I really enjoyed the beginning of cutting our footage as it allowed us to see how we could piece together the variations of shots we had taken and begin to create a succinct film.
No comments:
Post a Comment